 From professionals for professionals
 Satisfied customers

emmi-nail
Tunnel tips natural 100 pieces
- ✔strongly curved
- ✔extremely break-resistant and resilient
- ✔Contents: 100 tips
Choose options
- ✔strongly curved
- ✔extremely break-resistant and resilient
- ✔Contents: 100 tips
- ✔strongly curved
- ✔extremely break-resistant and resilient
- ✔Contents: 100 tips
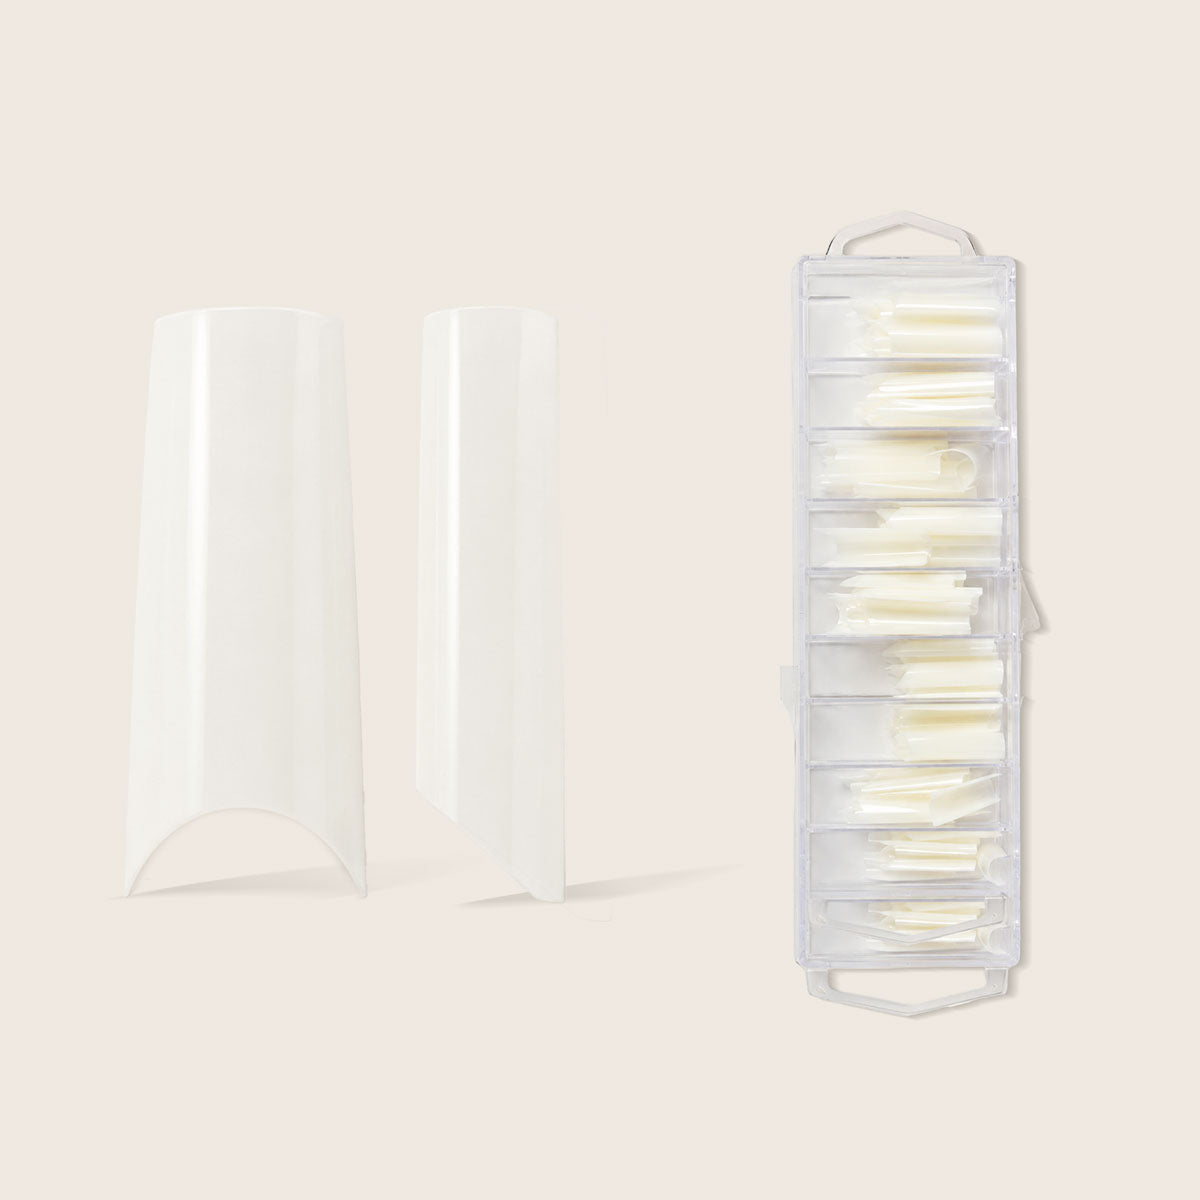
100 artificial tips for nail extension - natural tunnel tips
With the natural tunnel tips from the Emmi-Nail 100-piece natural tip box, you can extend gel and natural nails. They provide the shape for long nails but can also be customized. It does not matter whether you want to extend your nails with gel or prefer to extend acrylic nails with tips. Thanks to their high quality, Emmi-Nail tunnel tips are very stable, easy to file, and adapt perfectly to natural nails. These nail tips are also excellent for designing sample tips with nail art or presenting color gels.
✔ highly curved
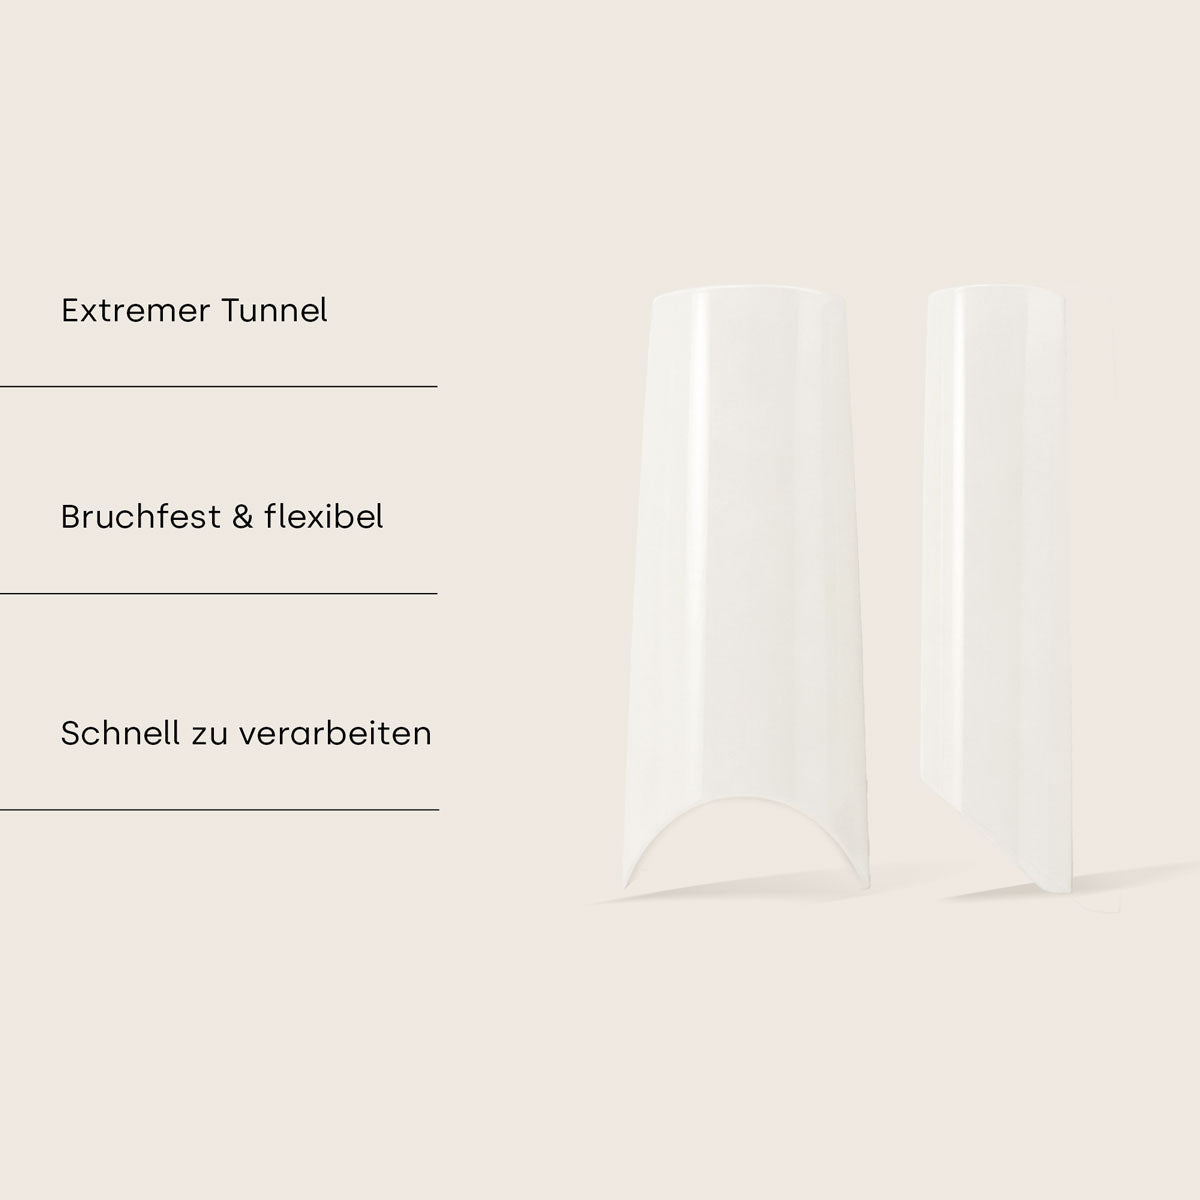
✔ extremely break-proof and durable
✔ Contents: 100 tips in sizes 1-10
✔ with extreme tunnel
✔ the tunnel remains in every length
✔ straight side lines
✔ without contact area
✔ quick and easy to apply and process
✔ very thin and flexible
✔ Contents: 100 tips in sizes 1-10
Nail extension with tunnel tips:
- Prepare the natural nail, remove the cuticle, and roughen the nail with a buffer.
- Select the nail tip in the desired size. Important: The tips must fit the nail surface exactly and must not be under pressure. We recommend choosing a larger tip rather than one that is too small, as this is the only way to achieve the ideal connection between the tip and the nail. You can file the tips to fit perfectly and shorten the contact area accordingly. Remember: The more carefully you work here, the better the nail extension will last.
- Attach the tips to the nail using a special tip glue. A tiny drop is sufficient. Make sure that no bubbles form. Ensure that the center of the tip forms a line with the finger bone behind it. You can shorten the tips to the desired length as you wish – use a tip cutter for this. Finally, file the transition to the natural nail flat. This is quite easy with a professional tip blender. Now apply the adhesive gel and cure it in the UV unit or UV/LED unit.
- Now apply the gel to the nails. Apply the builder gel to the fingernails and hold your hand with the back of the hand facing down for three seconds to get an optimal C-curve. With stable modeling gels, you can also work the build-up directly. Cure again under the UV lamp and file the finished nails into shape.
- Now create the nail design of your choice with color gel or nail art.
- Finally, give the fingernails a top coat – and your perfect nail extension is ready.
| Tipfarbe | Nature |
|---|

